

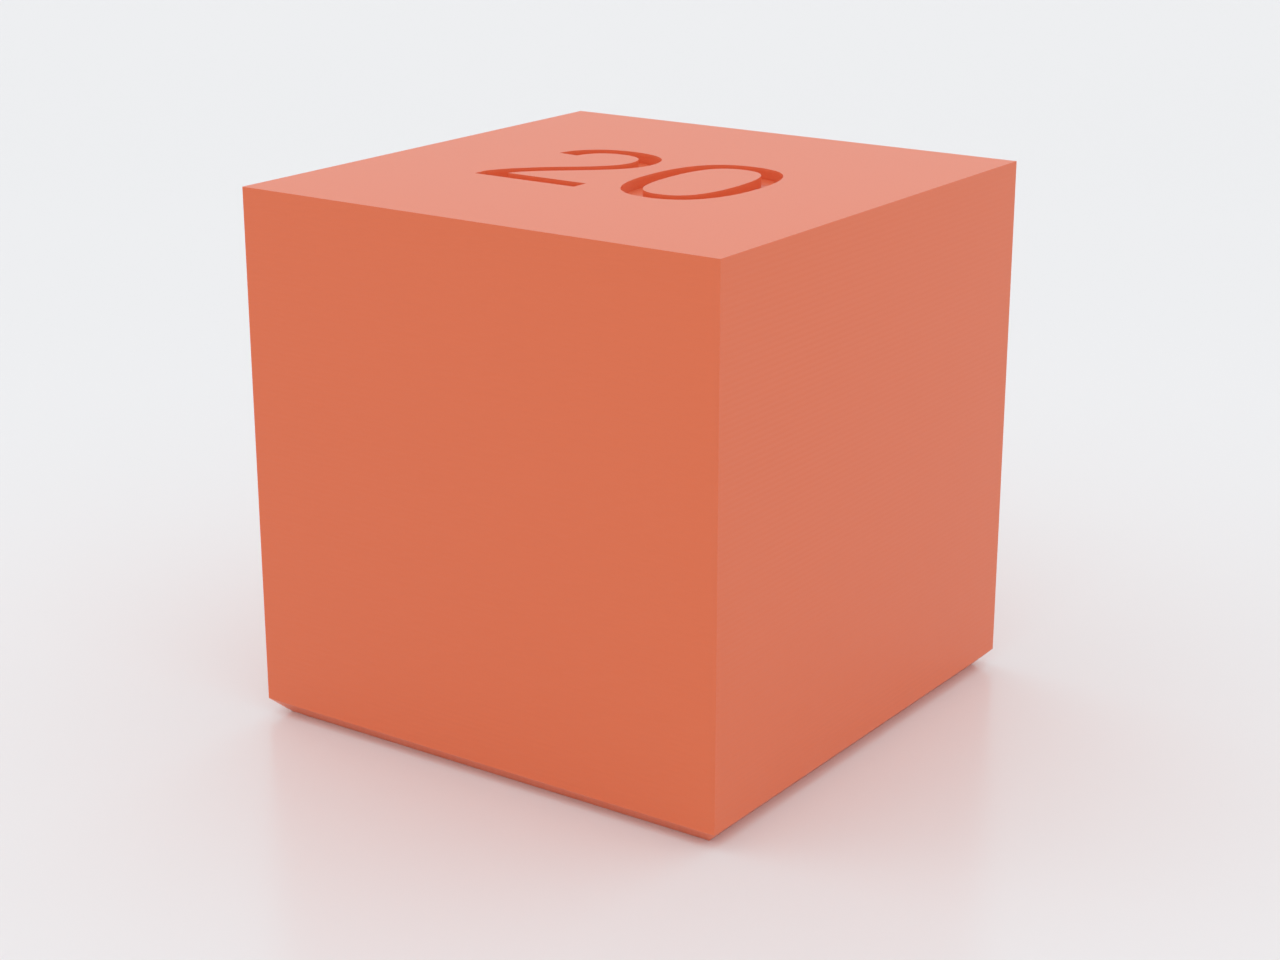
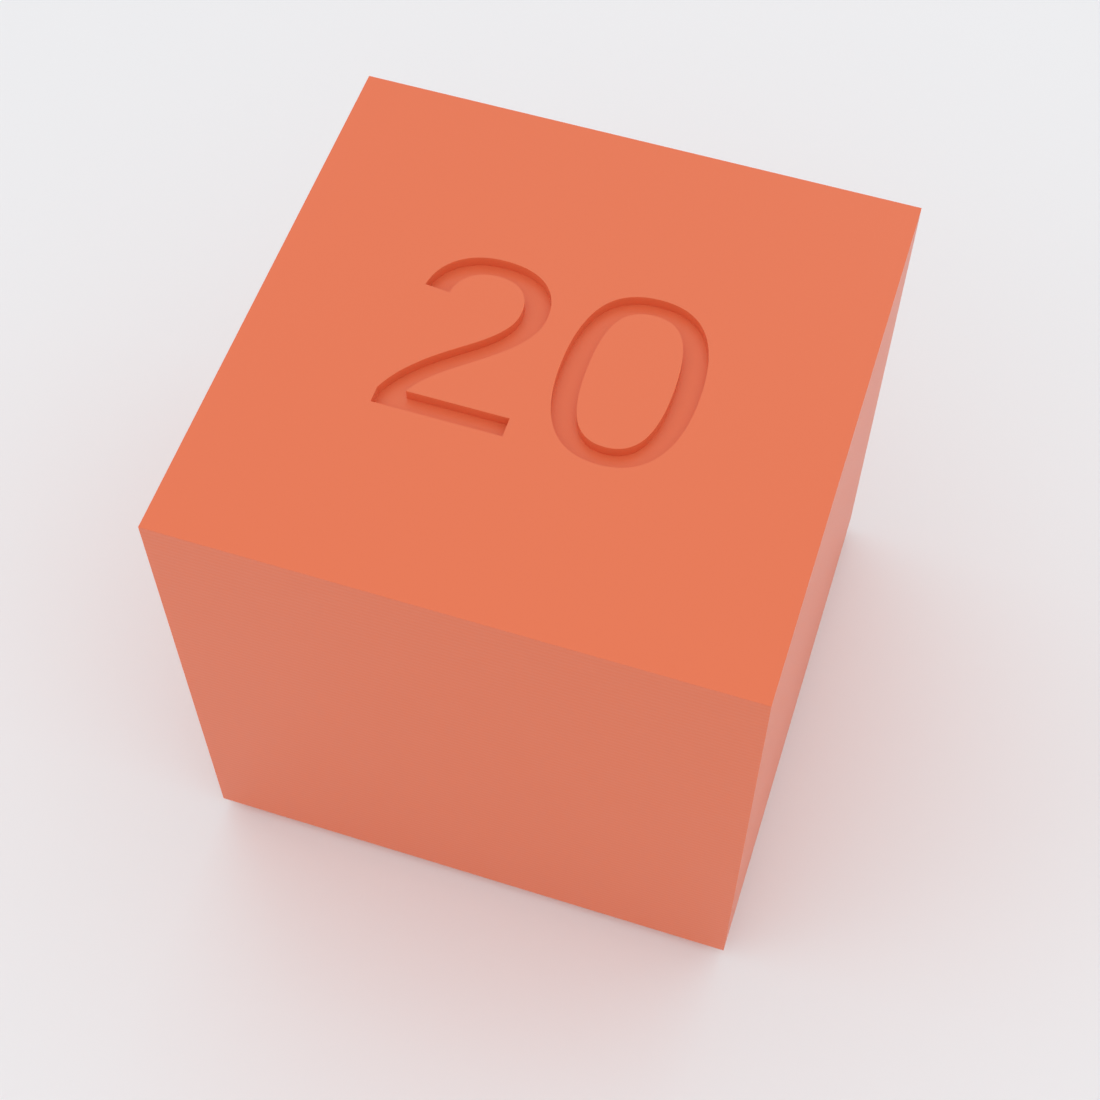
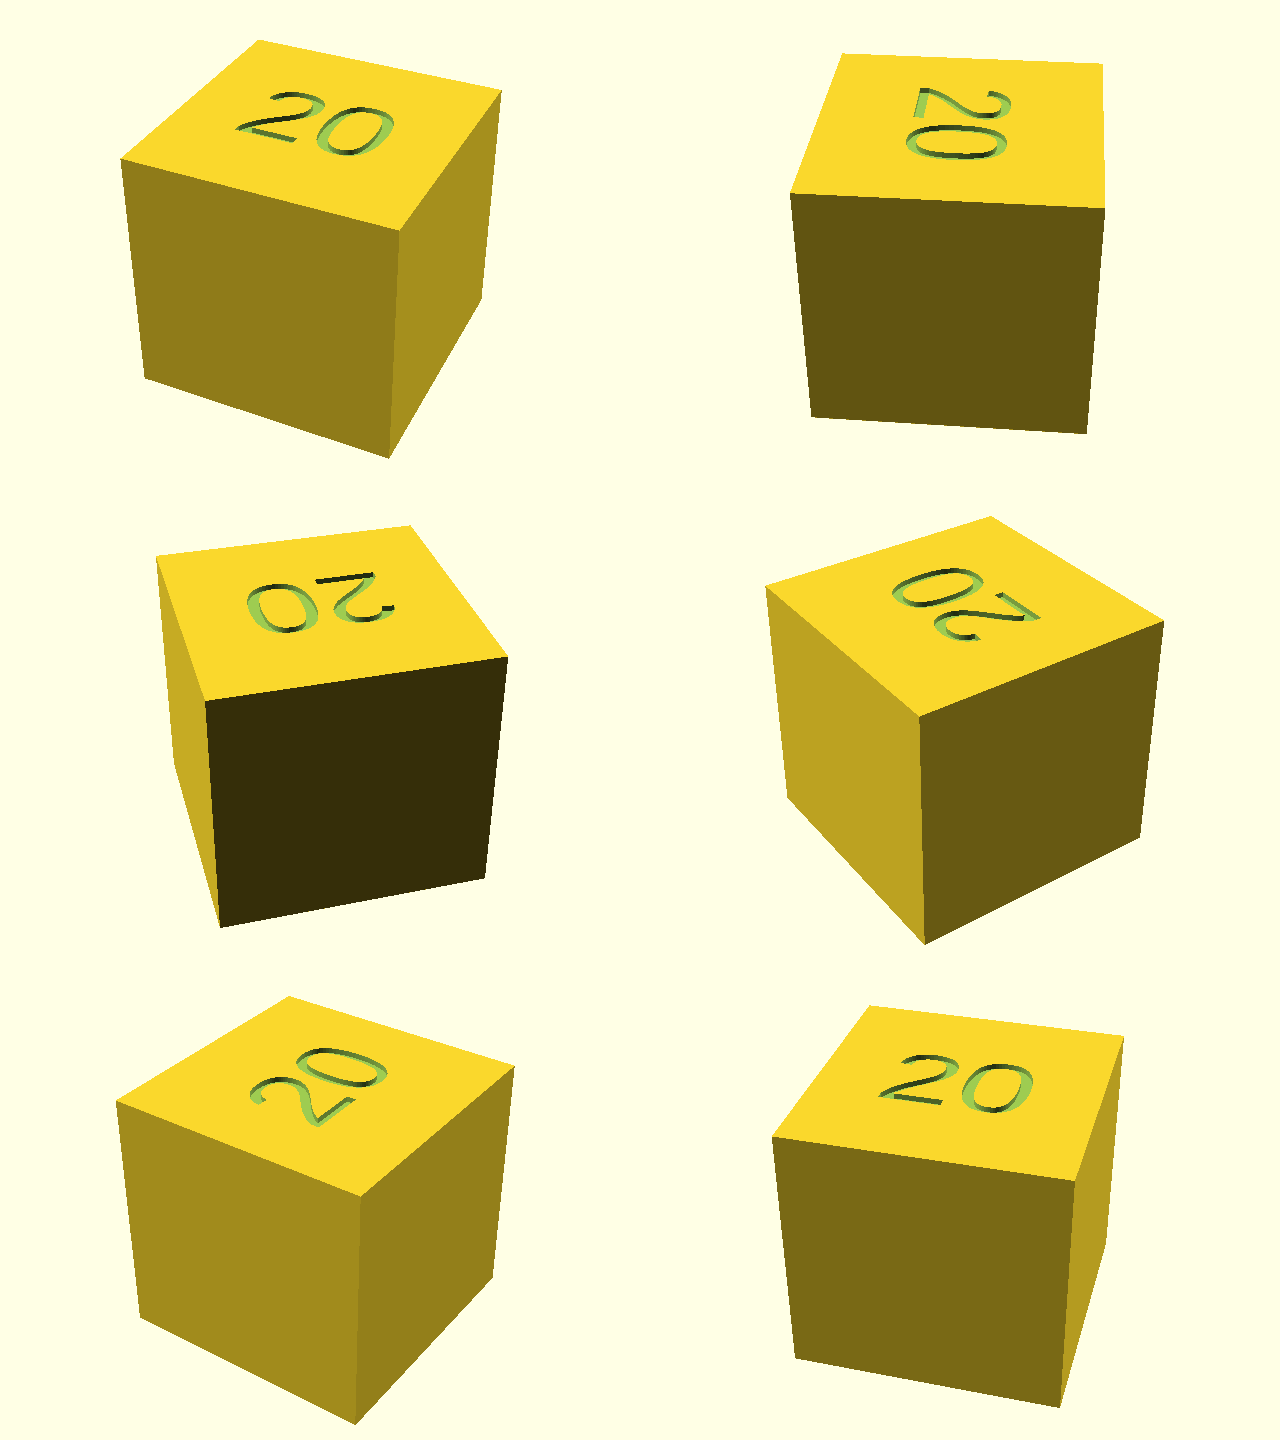
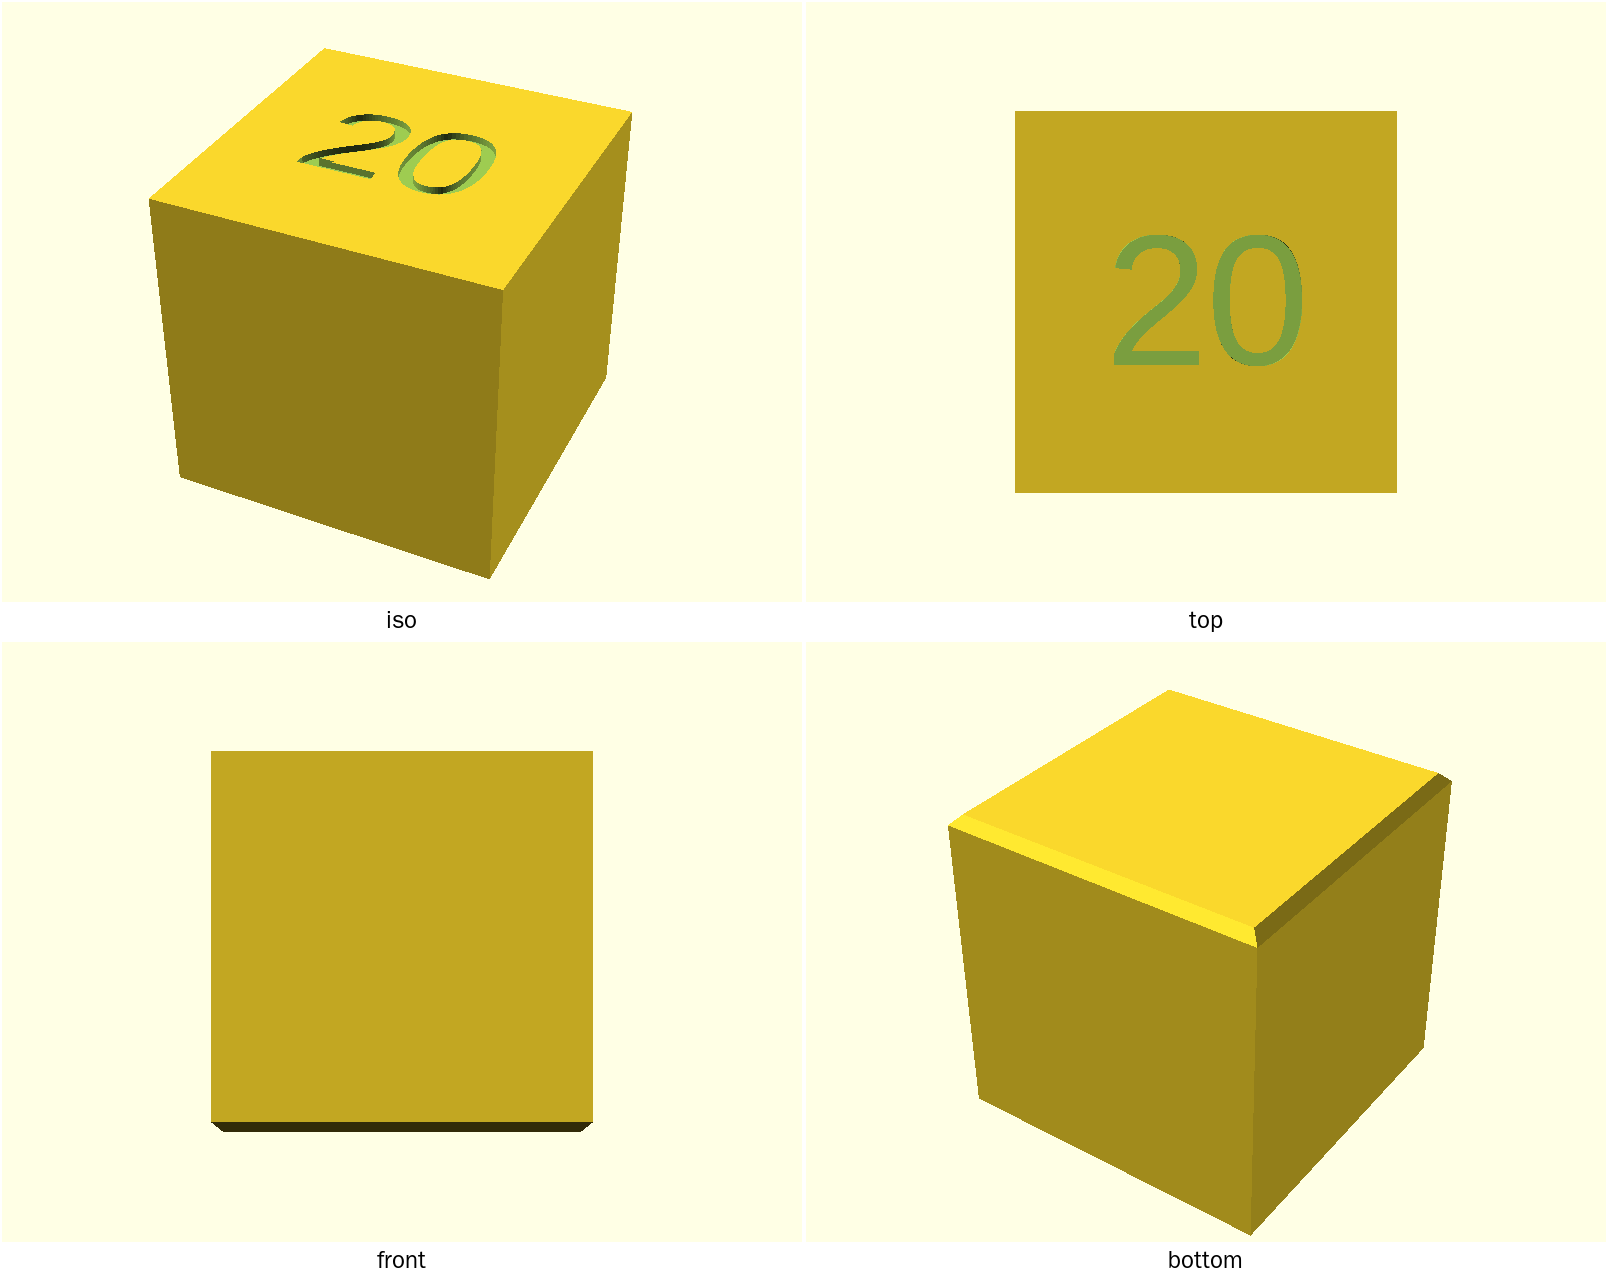
A 20 mm test cube for checking your printer's dimensional accuracy — and the starter design demonstrating this repo's parameter conventions. The bottom edges carry a 0.6 mm 45° chamfer so the first layer releases cleanly, and the top face is engraved with the cube's edge length, so every print labels its own intended size.
What you get
No assembly. Two ways to print:
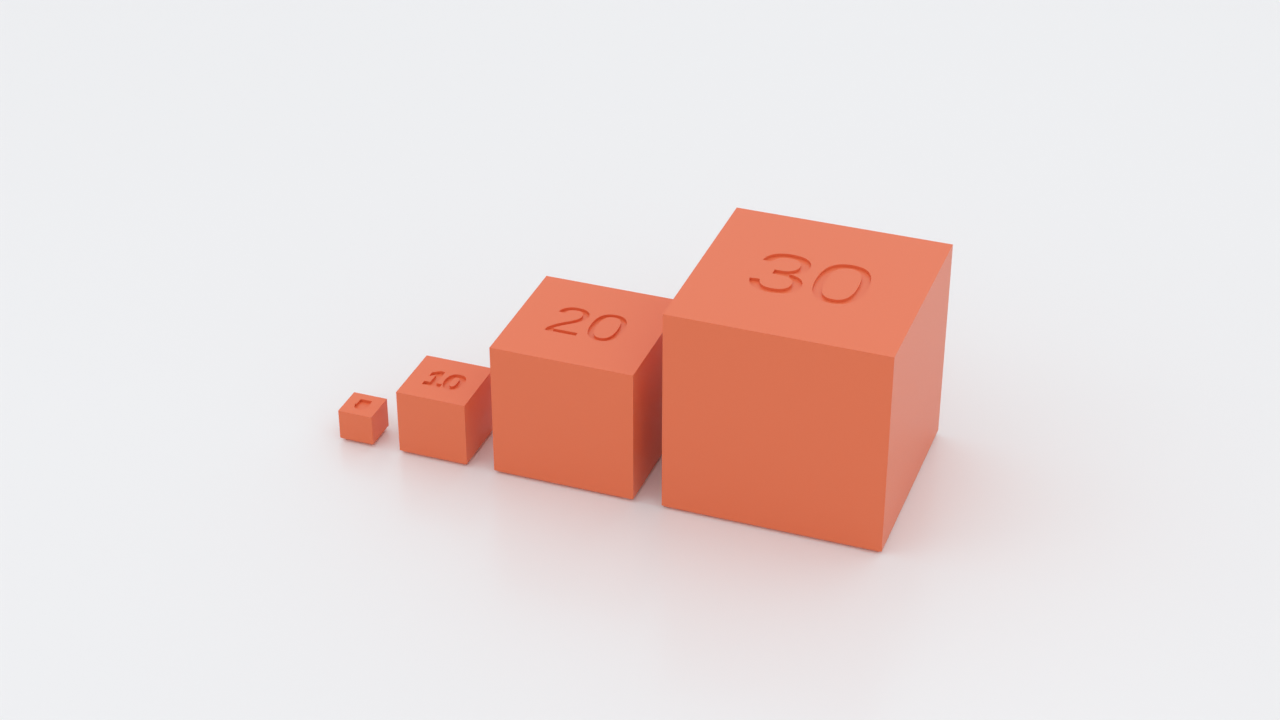
cube— the starter single cube, 20 × 20 × 20 mm at default settings (sizeis parametric), with chamfered bottom edges and the edge length engraved 0.4 mm deep into the top face. Optional X/Y/Z side letters are off by default (face_letters).- Multi-size strip — four separate cubes (5 / 10 / 20 / 30 mm) as
distinct objects on one plate, not a fused bar. The 20 / 30 tops read
as those numbers. The 10 mm marker is slightly thickened so its engraved
strokes clear a 0.4 mm nozzle. The 5 mm cube is the smallest on the
plate (
cube5); its top engraving is a blob at showroom and slice scale, not a readable 5 — do not treat that mark as the size label.
Deliverable for the strip. STL carries no object separation, so the
printable strip is the multi-object 3MF from
./scripts/plate.sh calibration-cube
(build/calibration-cube-plate.3mf) — cube5, cube10, cube20,
cube30 as four objects. part="sweep" is a layout preview only; do not
slice that STL. Import the plate (or the four part STLs) and keep them as
separate objects, side by side and flat. Leave the 4 mm air gap;
do not add a brim. The 5 mm cube's first layer after the 0.6 mm chamfer is
a 3.8 mm patch — small, but that is the dimensional sample, not a defect
to pad.
Print settings
- Material: any — use the filament you want to calibrate
- Layer height: 0.2 mm or finer (the engraved marker is sized to survive slicing at 0.2 mm layers)
- Infill: 100% if you'll check dimensional accuracy under load; otherwise your usual default
- Supports: none needed
- Brim: no brim — PrusaSlicer's skirt default is fine. On the multi-size strip, leave the 4 mm air gap between cubes; Bambu Studio's stock Auto brim can pad the 5 mm cube's 3.8 mm first-layer patch and chain the four objects across that gap.
- Orientation: as modeled — flat face down
- Seam: park the seam on a rear corner before you measure. A stock aligned seam on a face leaves a ridge a caliper will catch. This is slicer guidance (the model does not force a face seam): PrusaSlicer → Seam position → Rear, or paint the seam to a back corner; Bambu Studio → Seam position → Back, or use scarf seam / paint the seam to a back corner.
Parameters
| Parameter | Default | What it does |
|---|---|---|
part | cube | cube (parametric), cube5/cube10/cube20/cube30 (fixed strip sizes), or sweep (layout preview) |
size | 20 mm | Edge length of the cube part; the engraved marker updates to match (ignored by fixed-size parts) |
bottom_chamfer | 0.6 mm | 45° chamfer on the bottom edges so the first layer releases cleanly (0 to disable) |
face_letters | false | Engrave X / Y / Z on the side faces so a caliper reading names its axis; off keeps the clean dimensional cube. Faces under 10 mm (the 5 mm cube) stay blank. |
$fn | 64 | Curve resolution — 32 while iterating, 64+ for production |
All parameters are at the top of calibration-cube.scad, grouped in
Customizer sections; override on the command line with -D 'size=25',
-D 'part="cube10"', or -D 'face_letters=true'.
Assembly & use
Nothing to assemble. Print a cube (or the strip plate), then measure the
X, Y, and Z faces with calipers and compare against the intended size — on
X and Y, measure above the bottom chamfer, not on the bed footprint. The
default 20 mm cube (and the 10 / 20 / 30 strip cubes) engrave that size on
top. The 5 mm cube does not: identify it as the smallest object on the
plate. If you want a different single reference size, change size and
reprint — the marker follows automatically. Turn on face_letters to stamp
X / Y / Z on the side faces when you need to attribute which axis is off.
Design rationale and modeling decisions live in NOTES.md.